How to Varnish Wood for a Really Good Finish: A Complete Guide
Varnishing wood is one of the best ways to protect your furniture, floors, or woodwork while enhancing its natural beauty. A well-applied varnish can give your wood a smooth, glossy, or satin finish that lasts for years. If you’re wondering “How to varnish wood for a really good finish?”, this comprehensive guide will walk you through each step, from preparation to final touches, ensuring your project turns out professional and durable.
Whether you’re restoring an antique piece or finishing new woodwork, mastering the art of varnishing is essential. Follow these steps to achieve a truly excellent varnish finish that highlights the wood’s natural grain while providing protection against wear and tear.
Why Varnish Wood?
Untitled design – 2025-03-05T184831.717
Varnish is a transparent, protective finish that adds durability to wood surfaces. It shields wood from moisture, scratches, and stains, making it ideal for furniture, flooring, cabinets, and decorative wood pieces. Plus, varnish can enhance the wood’s color and grain, giving it a rich, polished look.
Key benefits of varnishing wood include:
- Protects against moisture, dirt, and UV damage
- Adds a glossy, satin, or matte finish
- Enhances natural wood grain
- Provides a durable surface that resists scratches and stains
Step 1: Gather Your Supplies
Before starting your varnishing project, gather all necessary tools and materials:
- High-quality varnish (oil-based or water-based)
- Sandpaper (medium and fine grit)
- Steel wool or fine abrasive pad
- Clean rags or tack cloth
- Paintbrushes or foam brushes
- Stir sticks
- Primer or wood conditioner (if needed)
- Protective gloves and mask
- Drop cloths or newspaper
Having everything ready will streamline your process and ensure the best results.
Step 2: Prepare the Wood Surface
Proper preparation is crucial for how to varnish wood for a really good finish:
- Clean the surface: Wipe down the wood with a damp cloth to remove dust, dirt, or grease. Allow it to dry completely.
- Sand the wood: Start with medium-grit sandpaper (around 120 grit) to smooth out rough areas. Follow with fine-grit sandpaper (220 grit) for a polished surface. Sand in the direction of the grain to avoid scratches.
- Remove dust: Use a tack cloth or a damp rag to clear away all sanding dust. Any debris can mar the final finish.
Tip: If your wood is soft or porous, consider applying a wood conditioner or primer to ensure even absorption of varnish and prevent blotchiness.
Step 3: Choose the Right Varnish
Selecting the appropriate varnish type depends on your project:
- Oil-based varnish: Offers a tough, glossy finish with excellent durability. It tends to yellow over time but is ideal for furniture and floors.
- Water-based varnish: Dries faster, has less odor, and remains clear over time, making it suitable for indoor projects where natural wood color is desired.
- Polyurethane varnish: Provides maximum protection against scratches and moisture; available in gloss, satin, and matte finishes.
Pro Tip: Always read the manufacturer’s instructions, and consider testing your chosen varnish on a scrap piece of wood to see how it looks.
Step 4: Apply the Varnish
Now, you’re ready to varnish:
- Stir the varnish: Do not shake, as this can create bubbles. Stir gently to mix thoroughly.
- Apply thin coats: Use a high-quality brush or foam applicator to apply a thin, even layer of varnish. Avoid overloading the brush, which can cause drips and uneven coverage.
- Follow the grain: Brush along the grain of the wood for a smooth finish.
- Work in sections: Cover small areas at a time to prevent overlaps and lap marks.
- Allow drying: Let each coat dry fully according to the manufacturer’s instructions—usually 4-6 hours for water-based and 24 hours for oil-based varnish.
Tip: For added smoothness, lightly sand with fine grit (220) between coats once the varnish is dry. Always remove dust afterward.
Step 5: Apply Additional Coats
For a truly professional finish, apply multiple coats:
- Number of coats: Two to three coats are generally sufficient for most projects.
- Sanding between coats: Light sanding with fine grit sandpaper ensures adhesion and removes any imperfections.
- Final coat: After the last coat, avoid sanding to preserve the desired sheen. Let it cure fully—sometimes up to 72 hours for maximum hardness.
Step 6: Finishing Touches
Once your final coat is dry and cured:
Maintenance: Regularly clean with a soft, damp cloth and avoid harsh chemicals to preserve your beautiful finish.
Polish if desired: Use a soft cloth to buff the surface for extra shine.
Avoid water and heavy use: Keep the surface dry for the first few days to allow the varnish to fully cure.
Tips for Achieving the Best Results
Work in a well-ventilated area to avoid fumes.
Maintain a consistent application technique for uniform coverage.
Use quality brushes or foam applicators to prevent brush marks.
Patience is key—don’t rush the drying process.
For outdoor wood, choose a varnish specifically rated for exterior use for weather resistance.
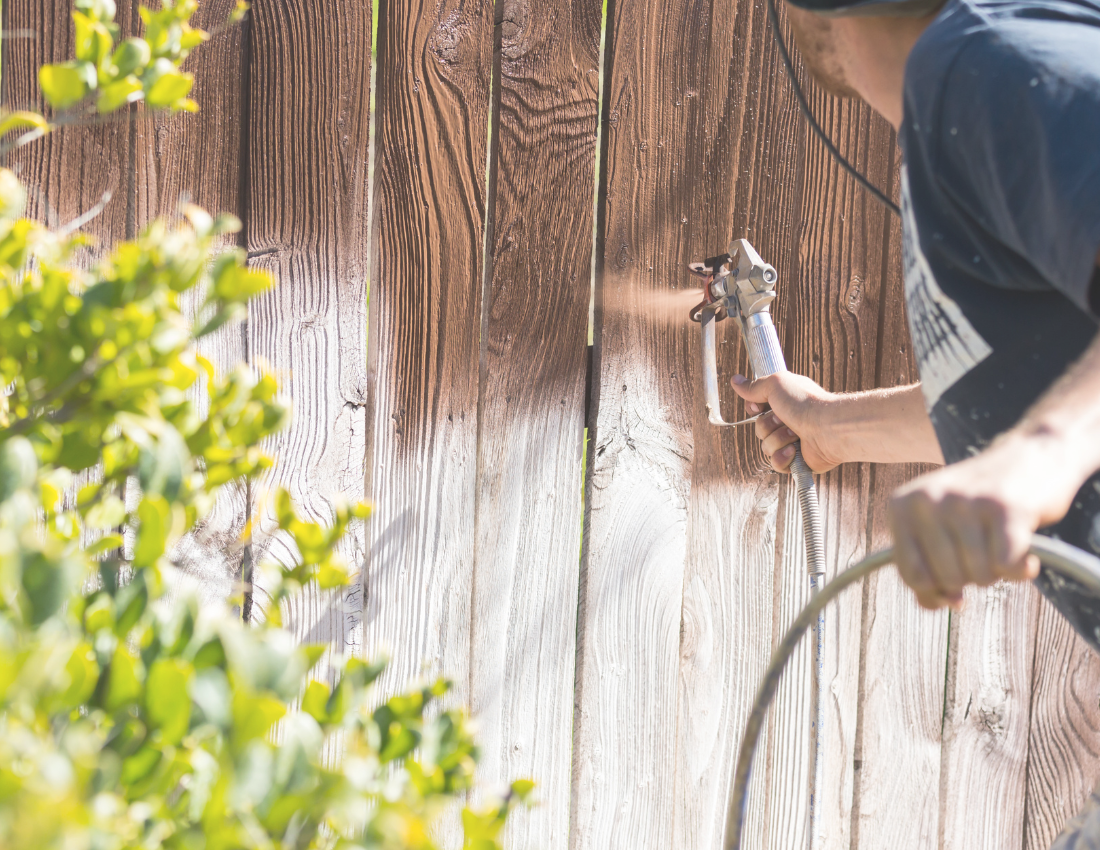
Final Thoughts: How to Varnish Wood for a Really Good Finish
Varnishing wood may seem straightforward, but achieving a truly impressive, durable finish requires attention to detail and patience. Proper surface preparation, choosing the right varnish, applying thin coats, and patience during drying are all essential steps in how to varnish wood for a really good finish.
By following this step-by-step guide, you can transform your wood surfaces into beautiful, long-lasting pieces that enhance your home decor. Whether you’re restoring antique furniture or finishing new woodwork, mastering the art of varnishing will give you professional-looking results every time.
Remember, the key to a stunning varnished finish is preparation, quality materials, and careful application. With these tips, your woodworking projects will boast a polished, protective coat that highlights the natural beauty of your wood.
Thinking about a project in San Diego?
Luis Rodriguez and the team give free, fixed written estimates — no pressure, no obligation.
- Licensed & insured
- 4.9★ · 291+ reviews
- 10% military discount